
Corner windows are a beautiful architectural feature that can add charm and natural light to any room. However, they can also pose a challenge when it comes to choosing and hanging curtains. How do you measure, select, and install curtains that fit the unique shape and style of corner windows? How do you avoid gaps, overlaps, or bunching that can ruin the look and function of your curtains on corner windows?
If you are looking for answers to these questions, you have come to the right place. In this comprehensive guide, we will walk you through the process of hanging curtains on corner windows, from understanding the basics to troubleshooting common issues. We will also share some inspirational ideas and tips to help you achieve a seamless and stunning result. By the end of this guide, you will be able to hang curtains on corner windows with confidence and ease.
Table of Contents
Understanding Corner Windows

Before we dive into the details of hanging curtains on corner windows, let’s first understand what corner windows are and what makes them special.
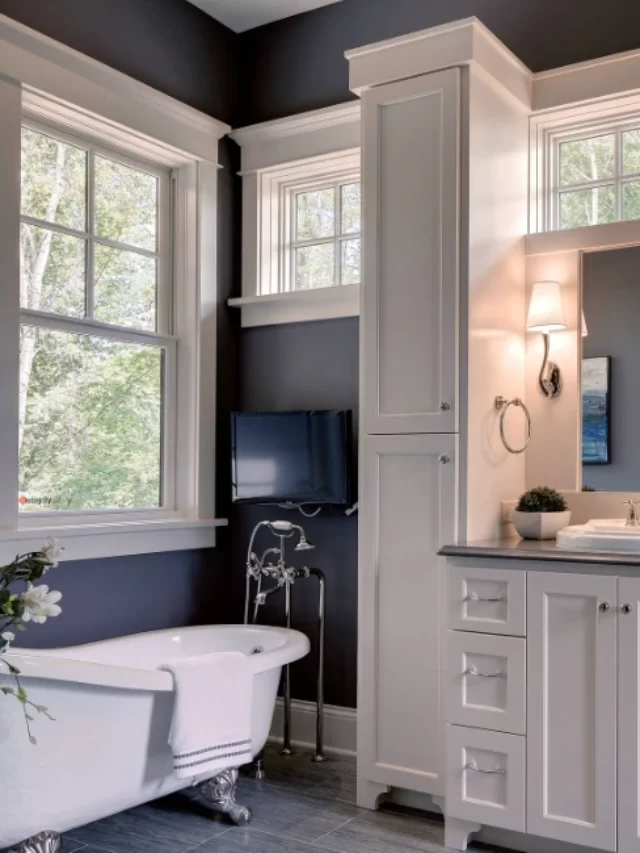
Corner windows are windows that are placed at or near the corner of a wall, creating an angle or a curve. They can be of various shapes and sizes, such as square, rectangular, triangular, or circular. They can also be single or double-hung, casement, or sliding.
Corner windows have several advantages, such as:
- They add architectural interest and character to your room.
- They allow more natural light and fresh air to enter your space.
- They offer a wider and more panoramic view of the outside scenery.
However, corner windows also have some challenges, such as:
- They can make the room feel too bright or too hot at certain times of the day.
- They can compromise your privacy and security if not covered properly.
- They can be difficult to measure, choose, and hang curtains that fit and flatter them.
Measuring Corner Windows
The first step to master how to hang curtains on corner windows is to measure them accurately. This will help you determine the right size and type of curtains and rods that you need. Here are the detailed steps on how to measure corner windows for hanging curtains on corner windows:
- Measure the width of each window: Use a tape measure to measure the distance from the inside edge of the window frame to the outside edge. Record the measurement in inches or centimeters.
- Measure the length of each window: Use a tape to measure the distance from the top of the window frame to the bottom. Record the measurement in inches or centimeters.
- Measure the distance between the windows: Use a tape to measure the distance from the outside edge of one window frame to the inside edge of the other window frame. This is the gap that you need to cover with your curtain rod. Record the measurement in inches or centimeters.
- Measure the distance from the corner to the wall: Use a tape to measure the distance from the corner of the wall to the nearest wall. This is the space that you need to leave for your curtain rod to extend beyond the window. Record the measurement in inches or centimeters.
Some tips for accurate measurements are:
- Use a metal tape measure for more precise results.
- Measure each window and distance twice to ensure consistency.
- Round up your measurements to the nearest inch or centimeter.
- Consider the shape and style of your corner windows and adjust your measurements accordingly. For example, if your corner windows are curved, you may need to measure the curve instead of the straight line.
The importance of precise measurements is that they will help you achieve a tailored and professional look for your corner window curtains. You want to avoid curtains that are too short, too long, too narrow, or too wide, as they can make your windows look awkward and unappealing.
Choosing the Right Curtains

The next step to learn how to hang curtains on corner windows is to choose the right curtains that suit your needs and preferences. There are many corner curtains options available, such as:
- Sheer curtains: These are lightweight and translucent curtains that allow light and air to pass through. They are ideal for creating a soft and airy look, as well as for enhancing your privacy and view.
- Solid curtains: These are opaque and heavy curtains that block light and noise. They are ideal for creating a cozy and dark look, as well as for insulating your room and protecting your furniture from sun damage.
- Patterned curtains: These are curtains that have prints or designs on them, such as stripes, florals, geometrics, or abstracts. They are ideal for adding some color and personality to your room, as well as for creating a focal point and a contrast.
- Valances: These are short and decorative curtains that cover the top part of the window. They are ideal for adding some flair and elegance to your room, as well as for hiding the curtain rod and hardware.
Factors to consider when choosing corner window curtains
- Fabric: The fabric of your curtains affects their appearance, durability, and functionality. You want to choose a fabric that matches your room’s style, theme, and mood, as well as your window’s shape and size. Some common fabrics for curtains are cotton, linen, silk, velvet, polyester, and blackout. Check out our guide on top 10 curtain fabrics.
- Length: The length of your curtains affects their look and feel. You want to choose a length that complements your window’s height and your room’s layout. Some common lengths for curtains are sill, apron, floor, and puddle.
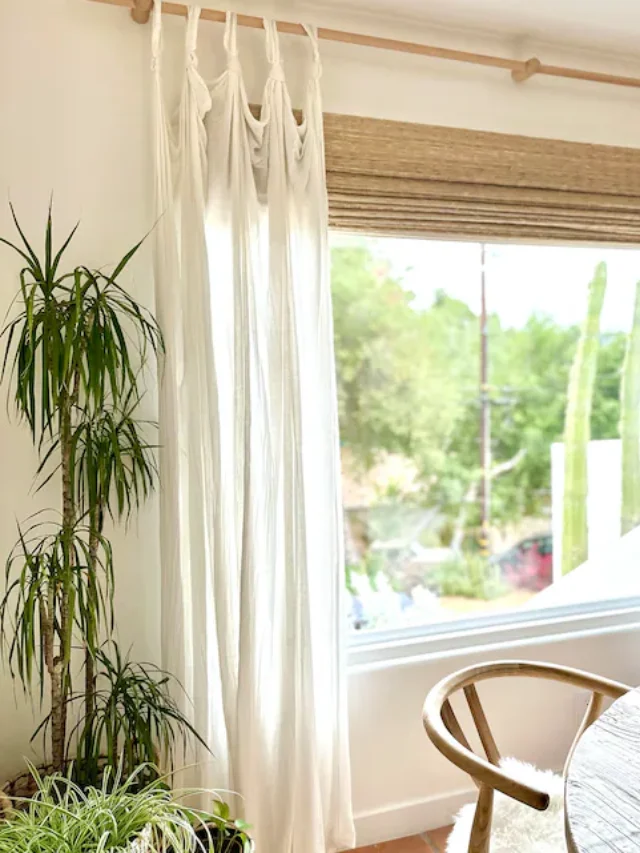
- Style: The style of your curtains affects their vibe and character. You want to choose a style that reflects your taste and personality, as well as your window’s features and functions. Some common styles for curtains are rod pocket, tab top, grommet, pinch pleat, and tie top.
The key to choosing the right corner window curtains is to balance aesthetics with functionality. You want to choose curtains that enhance the beauty and charm of your corner windows, as well as provide the desired level of light, privacy, and insulation.
Curtain Rod Options
The third step to hanging curtains on corner windows is to choose the right curtain rod that supports and showcases your curtains. There are two main options for curtain rods for corner windows: single rod and two rods.
- Single rod: This is a rod that spans across both windows and covers the gap between them. It creates a unified and continuous look for your corner windows. It also allows you to use one pair of curtains for both windows, which can save you money and time. However, it also limits your flexibility and versatility, as you cannot open or close each window separately. You also need to find a rod that is long and strong enough to support the weight and width of your curtains.
- Two rods: These are two separate rods that are installed on each window individually. They create a versatile and flexible look for your corner windows. They also allow you to use different pairs of curtains for each window, which can give you more options and variety. However, they also create a gap and an overlap between the windows, which can make your windows look disjointed and cluttered. You also need to find rods that are compatible and coordinated with each other.

Some creative alternatives for curtain rods for corner windows are:
- Corner connector: This is a device that connects two rods at a right angle, creating a seamless and smooth transition. It eliminates the gap and the overlap between the windows, as well as the need for a long and sturdy rod. It also allows you to use different pairs of curtains for each window, giving you more flexibility and versatility. However, it also requires you to find rods and curtains that fit the connector’s size and shape, which can be challenging and costly.
- Tension rod: This is a rod that is held in place by spring tension, without the need for brackets or screws. It is easy and quick to install and remove, as well as to adjust and reposition. It also creates a clean and minimalist look for your corner windows, as it does not have any hardware or accessories. However, it also has a limited weight and length capacity, which may not be suitable for heavy or long curtains. It also may not be very stable or secure, especially if you open and close your curtains frequently.
- Magnetic rod: This is a rod that is attached to the window frame by magnets, without the need for drilling or hammering. It is convenient and simple to use and move, as well as to customize and decorate. It also creates a sleek and modern look for your corner curtains, as it does not have any visible or bulky hardware. However, it also has a low weight and length capacity, which may not be enough for large or thick curtains. It also may not work well on non-metallic or uneven surfaces, such as wood or vinyl.
The key to choosing the right curtain rod for corner windows is to match it to your window’s style and your curtain’s type. You want to choose a rod that enhances the shape and function of your corner windows, as well as supports and showcases your curtains.
Check here detailed guides on different types of rods, such as:
- French return curtain rods,
- Acrylic Curtain Rods,
- Pinecone Curtain Rods,
- Curved Curtain Rods,
- Lucite Curtain Rods and
- Wrought Iron Curtain Rods.
Installation Steps

The fourth step to hanging curtains on corner windows is to install them properly and securely. This will ensure that your curtains look neat and professional, as well as function smoothly and safely. Here are the necessary tools and the step-by-step guide for installing curtains on corner windows:
Tools:
- Tape measure
- Pencil
- Level
- Drill
- Screwdriver
- Screws
- Anchors
- Curtain rod
- Curtain rod brackets
- Corner connector (optional)
- Curtains
- Curtain hooks or rings
Steps:
- Mark the position of the brackets. Use a tape measure, a pencil, and a level to mark the position of the brackets on the wall above each window.
- Drill the holes for the brackets. Use a drill and a screwdriver to drill the holes for the brackets on the wall, following the marks you made. Use anchors if the wall is drywall or plaster, to provide more support and stability for the brackets.
- Attach the brackets to the wall. Use a screwdriver and screws to attach the brackets to the wall, making sure that they are aligned and level. If you are using a corner connector, attach it to the brackets as well.
- Insert the rod into the brackets. Use a screwdriver to tighten the screws on the brackets, to secure the rod in place. If you are using two rods, make sure that they meet at the corner connector, creating a smooth and seamless transition.
- Hang the curtains on the rod. Use curtain hooks or rings to hang the curtains on the rod, making sure that they are evenly distributed and cover the entire window. If you are using two pairs of curtains, make sure that they match or coordinate with each other.
- Adjust the curtains to your liking. Use your hands to smooth out any wrinkles or folds on the curtains, and to arrange them in a pleasing and symmetrical way. You can also use accessories like tiebacks or magnets to hold the curtains back or to create a different look.
Styling Tips for Seamless Appeal
The fifth step to hanging curtains on corner windows is to style them in a way that creates a seamless and appealing look for your room. Here are some tips to help you achieve that:
- Choose curtains that complement your room’s color scheme, theme, and mood. You can use curtains that match or contrast with your wall, furniture, or accessories, depending on the effect you want to create.
- Choose curtains that flatter your window’s shape and size. You can use curtains that follow or contrast with your window’s curve or angle, depending on the style you want to create.
- Choose curtains that suit your window’s function and purpose. You can use curtains that allow or block light, noise, and air, depending on the level of comfort and privacy you want to achieve.
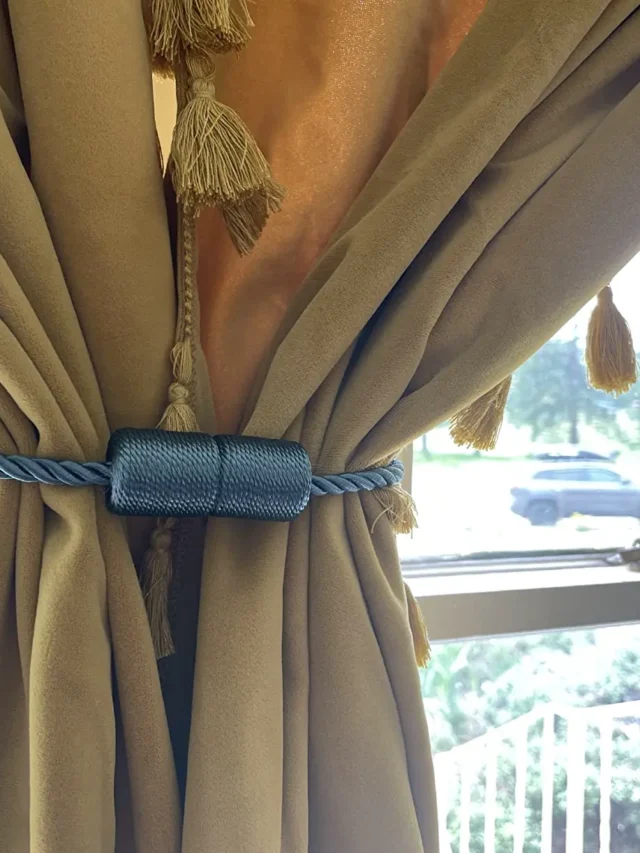
- Use accessories that enhance your window’s charm and character. You can use accessories like valances, tiebacks, magnets, or tassels, to add some flair and elegance to your window treatments.
- Layer curtains for enhanced flexibility and versatility. You can use two or more layers of curtains, such as sheer and solid, or patterned and plain, to create different looks and functions for your corner windows. For an inspiration you can take a help of this resource.
Troubleshooting Common Issues
The sixth step to hanging curtains on corner windows is to troubleshoot any issues that may arise during or after installation. Here are some common issues and how to fix them:
- Gaps: These are spaces between the curtains and the window frame, or between the two windows, that can make your window treatments look incomplete or unprofessional. To fix them, you can use a corner connector, a tension rod, or a magnetic rod, to close the gap and create a continuous look.
- Overlaps: These are areas where the curtains from the two windows overlap each other, creating a bulky and cluttered look. To fix them, you can use a corner connector, a tieback, or a magnet, to separate the curtains and create a neat and tidy look.
- Bunching: This is when the curtains gather or bunch up at the corner, creating a messy and unappealing look. To fix it, you can use a corner connector, a tieback, or a magnet, to spread the curtains and create a smooth and sleek look.
Inspirational Ideas for Curtains on Corner Windows Treatment

The final step for mastering the art of how to hang curtains on corner windows is to get inspired by some creative and stylish curtain designs. Here are some examples and success stories of how people have transformed their corner windows with curtains:
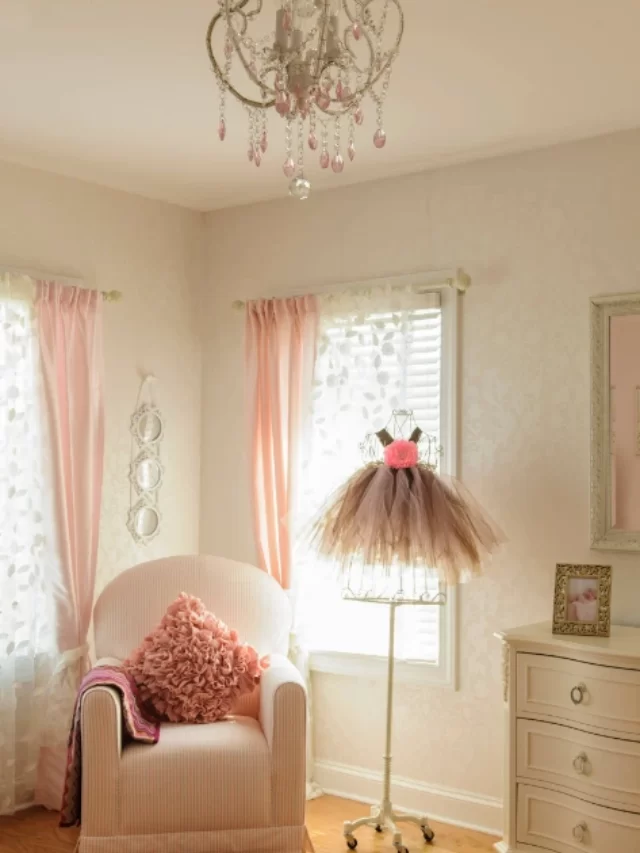
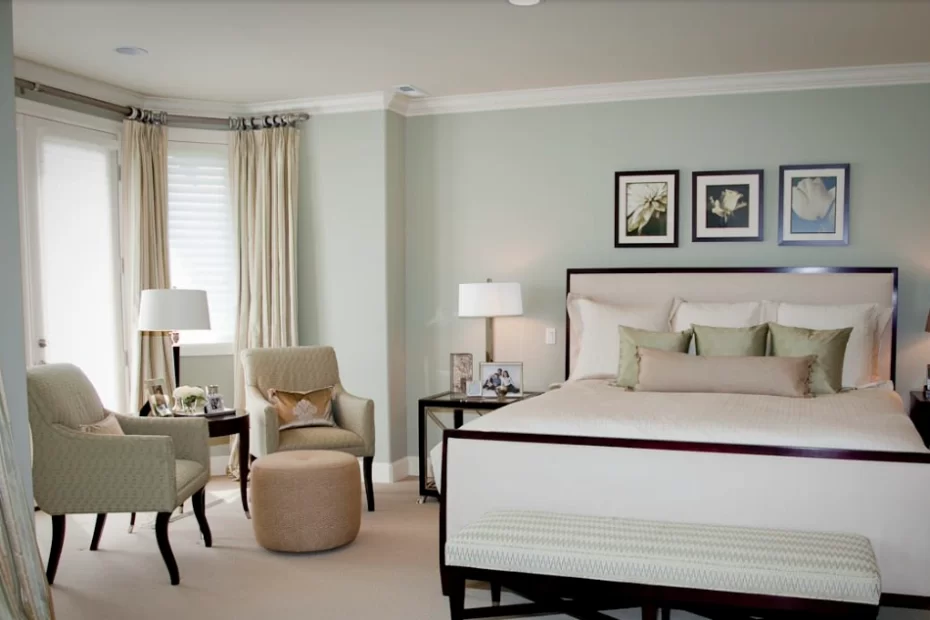
- A cozy and romantic bedroom with floor-length white curtains and a corner connector.
- A bright and cheerful living room with colorful patterned curtains and two rods.
- A modern and minimalist kitchen with sheer curtains and a tension rod.
- A rustic and charming dining room with solid curtains and a magnetic rod.
- A chic and elegant office with valances and tiebacks.
Conclusion
Hanging curtains on corner windows can be a challenging but rewarding task. With the right measurements, curtains, rods, and installation steps, you can create a stunning and seamless look for your curtains on corner windows. You can also use some styling tips, troubleshooting tricks, and inspirational ideas, to enhance the beauty and functionality of your window treatments.
We hope that this guide has helped you learn how to hang curtains on corner windows with confidence. We also hope that you have enjoyed the process and the result, and that you are proud of your work. If you’re looking for further inspiration on enhancing your living space, particularly if you have a gray couch, check out our guide on what color curtains go with a gray couch. It offers valuable insights into selecting curtains that complement the stylish appeal of a gray couch, ensuring a harmonious and well-coordinated interior design.
We would love to hear from you and see your corner window curtain projects. Please feel free to leave a comment below, share your experiences and ideas, and ask any questions you may have. We will be happy to answer them and provide you with more guidance and support.
You can also share this guide with your friends and family, who may be interested in hanging curtains on corner windows. You can use the social media buttons below to spread the word and help others achieve their curtain-hanging goals. You can also share your ideas and experiences with us on Quora. Happy decorating!